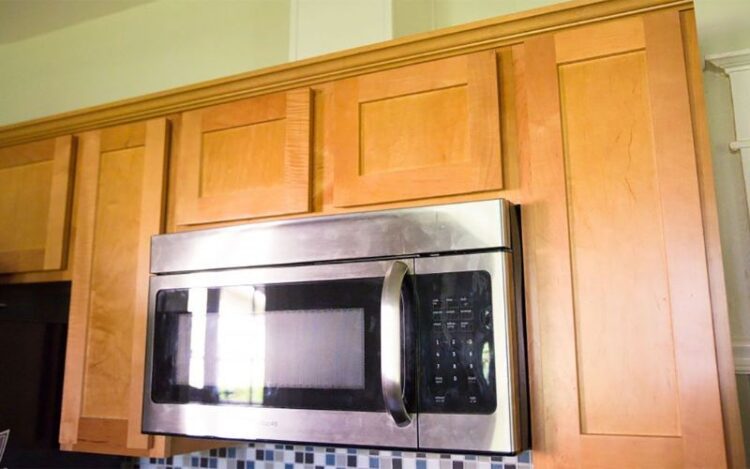
What Is Microwave Ventilation?
Installation of a ventilation system for a microwave oven is what is meant by “microwave ventilation,” and it serves to remove smoke, steam, and aromas from the kitchen. Even though many modern microwaves have exhaust fans built right in, these fans typically just blow the stale air back into the room. A cleaner and more comfortable cooking atmosphere can be achieved by proper microwave ventilation, which entails making a way for the stale air to leave your kitchen.
Benefits of Ventilating a Microwave
Ventilating your microwave offers several benefits:
Ventilation improves air quality by getting rid of stale air, smoke, and grease vapors produced during cooking.
Heat Dissipation: Microwaves produce heat when in use. Ventilation helps remove this heat, avoiding your kitchen from becoming too warm.
Preventing Grease Buildup: Grease particles produced during cooking can build on kitchen surfaces if proper care is not taken. This accumulation can be avoided with sufficient ventilation.
It’s easier to keep the oven at a steady temperature and avoid setting off the smoke alarm if the kitchen has adequate ventilation.
How To Vent a Microwave on an Interior Wall
Here’s how to vent your microwave via an internal wall in your kitchen:
Identify the Correct Location
Find a good spot on the wall inside your home to mount the microwave and install the ventilation system. To efficiently gather and exhaust cooking byproducts, this should be located close to the kitchen.
Make sure the wall cavity can accommodate the microwave and ventilation ducts.
Get the Wall Ready for the Install
Before installing the microwave and ventilation system, make sure that all switches and outlets in the vicinity are turned off.
Use a stud finder to identify the wall studs. You can use this method to safely fasten the microwave to the counter.
Set up the Ventilation Outlet/Hood
Cover the hole in the wall through which the ducts will be exiting with an exhaust port or cover. Make sure it’s secured tightly to keep moisture and pests out of your kitchen.
Make a hole in the wall inside your home for the microwave and venting needs. This may require making holes in the wall or otherwise causing damage. Take care and observe all necessary safety procedures.
Connect Ductwork and Test the System
Install the microwave’s ducting in the wall’s exhaust port or hood. Connectors and clamps should be used to keep the ducts in place.
Turn on the microwave’s exhaust fan to ensure proper operation of the ventilation system. See whether air is escaping from the hood or exhaust port. Check the ducts to make sure there are no air leaks.
Extra Advice on Microwave Venting
Use Durable Ducts Rigid metal ducts are preferable to flexible ducts for ducting because they last longer and collect grease less easily.
Regular cleaning of the ducts and exhaust port or hood is an important part of maintaining a functional ventilation system. Over time, a buildup of grease and debris might lower the system’s performance.
If you are not confident in your DIY installation skills or if the project entails extensive changes to your kitchen, you may want to look into hiring a professional HVAC specialist or contractor.
Summary
An internal wall must be chosen, prepared, an exhaust port or hood installed, ductwork connected, and the system tested in order to properly vent a microwave. A better cooking environment and cleaner air are the results of an installation that gets the job done right.
Conclusion
Finally, microwave ventilation is an easy way to make your kitchen healthier and more enjoyable to work in overall. By installing a microwave with an exhaust fan and venting it on an inside wall, you may greatly improve the air quality in your kitchen and make cooking more pleasant.
To ensure a successful microwave ventilation installation, follow the methods given in this guide and, if necessary, seek professional assistance. If your kitchen has adequate ventilation, you won’t have to worry about setting off smoke alarms or dealing with residual scents after you’re done cooking.